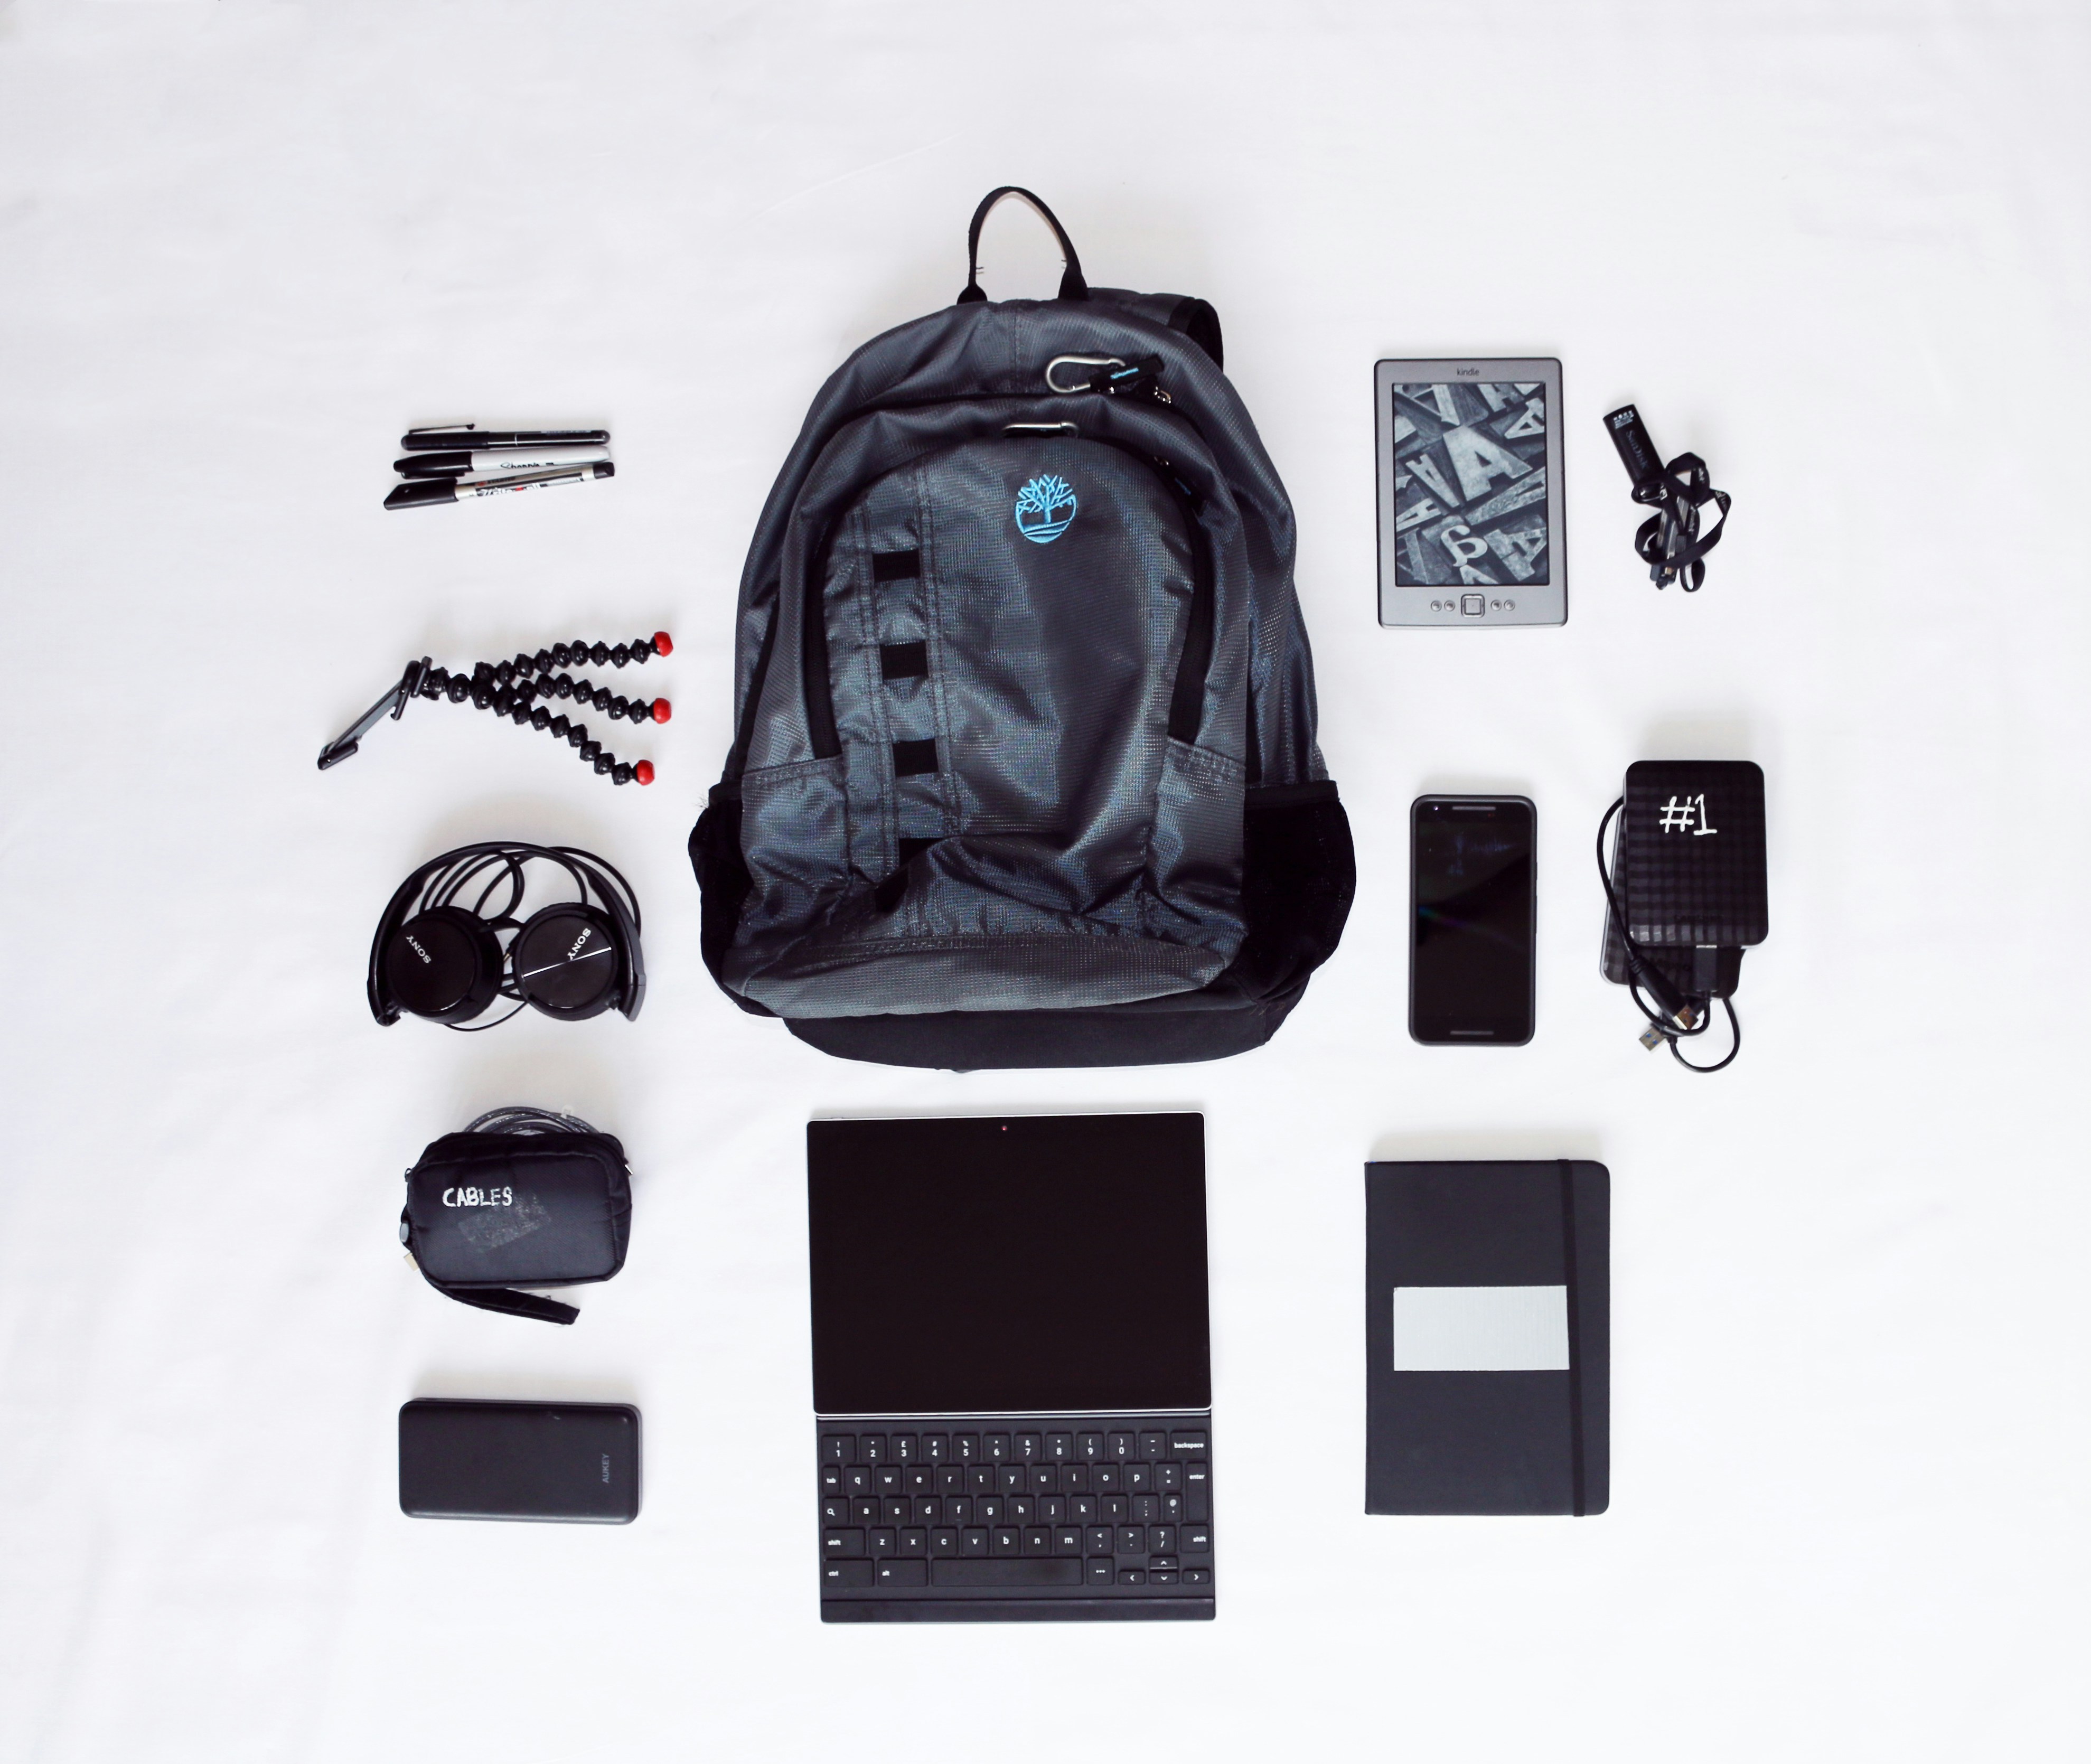
6 Smart Gadgets Every Frequent Traveler Should Own
Mar 20, 2026


Recording a podcast at home gives you the freedom to share your thoughts and ideas in a relaxed setting. With just a few key tools, you can achieve clear, professional audio and present your stories in a way that keeps listeners interested. You don't have to invest in expensive equipment or complicated technology to get started. A thoughtful setup helps you stay organized, avoid technical issues, and enjoy the process of creating new episodes. Discover five essential tools that make it easier to produce polished content and encourage you to press record with confidence every time.
Every tool on this list fits easily into a home workspace and meets the needs of someone who values ease of use, quality results, and budget-friendly choices. As you read, you’ll find specific features, step-by-step tips, and real-life scenarios to guide your decisions. Ready to build your home podcast studio? Let’s dive in.
Your microphone forms the heart of your audio quality. Select one with clear sound capture and minimal background noise so that every episode sounds great. You’ll find models that connect via USB for instant use or through an audio interface for more control. Look for a mic that filters unwanted sounds and highlights your natural tone.
Here’s a quick comparison to help you weigh your options:
Test each mic in your space before making a decision. Place it at mouth level and speak naturally while adjusting volume controls. You’ll notice background hums, room echoes, or belt-buckle rattles. Finding the best fit saves editing time and keeps your episodes sounding crisp.
Next, pick an application that makes recording and editing feel effortless. You want simple controls, clear track views, and fast export options. Choose a program designed with beginners in mind so you spend less time clicking menus and more time creating content.
Follow these steps to get started with two popular programs:
Try out one or two programs until you feel at ease. Each step you master reduces editing stress and boosts your confidence behind the microphone.
Headphones help you notice subtle sounds—soft breaths, microphone clicks, or background noise—that speakers might hide. A pair that fits well keeps your ears fresh during long editing sessions. Seek models that rest lightly around your ears and provide clear audio balance.
Here are two features to look for:
Brands like Audio-Technica ATH-M50x and Sony MDR-7506 combine sturdy builds with cushioned ear cups. Adjust their headbands to fit your head shape, then wear them for 30 minutes to check comfort. During editing, you’ll notice more details and make sharper cuts.
Room reflections and echoes can muddy your podcast’s sound. You don’t need expensive panels to tame them—everyday items can help. By arranging soft materials around your recording area, you’ll reduce reverb, control reflections, and capture clean voice tracks.
Follow these quick tips to improve your space:
Test your setup by clapping near your microphone. Listen for sharp snaps or lingering echoes. Adjust blankets or move the mic closer to soft surfaces until each clap sounds tight and dry. These simple steps turn your home corner into a professional recording space.
Once you prepare your audio file, upload it to a hosting service that distributes it to streaming platforms. Find sites with clear dashboards, simple RSS feed creation, and basic analytics. This way, you can track your listener growth and focus on creating content instead of dealing with complicated tech.
Consider these user-friendly options:
After signing up, copy the RSS feed link into platforms like *Spotify* and *Apple Podcasts.* You’ll approve your show description once, then episodes will appear automatically. This setup allows you to focus on creating new episodes instead of managing multiple dashboards.
Once you have your equipment and plan ready, record your first episode. Share your voice with confidence and start creating content today.

Beginning a DIY project often stirs a sense of anticipation along with some butterflies. Tackling a blank wall or breathing new life into an old bookshelf can spark...
Apr 15, 2026

Creating a plan to safeguard your loved ones and belongings calls for careful and intentional decisions. You gain peace of mind when you make sure those close to you...
Mar 27, 2026

Opening a solid credit profile soon after high school sets the stage for exciting opportunities like renting your own place, securing better rates on loans, and...
Feb 24, 2026

Connecting with a mentor from afar allows you to gain valuable knowledge and support, no matter where you are. Through regular sessions, you can tap into your mentor’s...
Feb 21, 2026

Balancing daily expenses on one income often brings its own set of challenges, particularly when you’re raising children and facing surprise bills. Each day involves...
Apr 03, 2026

Pausing your career offers valuable time to explore new interests, visit different places, or reconnect with friends and family, yet it often raises important questions...
Mar 04, 2026

Taking control of your finances starts with simple, realistic actions that make sense for where you are in life. This guide provides straightforward tips grounded in...
Jan 30, 2026

Travel preparations call for more than just choosing outfits and booking hotels; staying organized and connected makes every journey smoother. Packing a compact charger...
Jan 19, 2026

Smart home technology welcomes you with a door that unlocks at your approach, lighting that brightens your favorite corner, and a coffee maker that serves you a hot cup...
Mar 11, 2026

Building a freelance career brings the freedom to choose your projects and manage your own time. Keeping a careful record of your earnings and expenses helps you make...
Jan 26, 2026

Receiving an inheritance often brings a blend of emotions, from gratitude to uncertainty. Many people find themselves unsure about the initial actions required or feel...
Feb 28, 2026

Launching your professional journey opens the door to new possibilities and important financial decisions. Many people find themselves balancing student loan payments,...
Apr 29, 2026

Crafting a distinctive online identity begins with understanding your core values, strengths, and the message you wish to share. Defining these aspects allows you to lay...
Jan 15, 2026
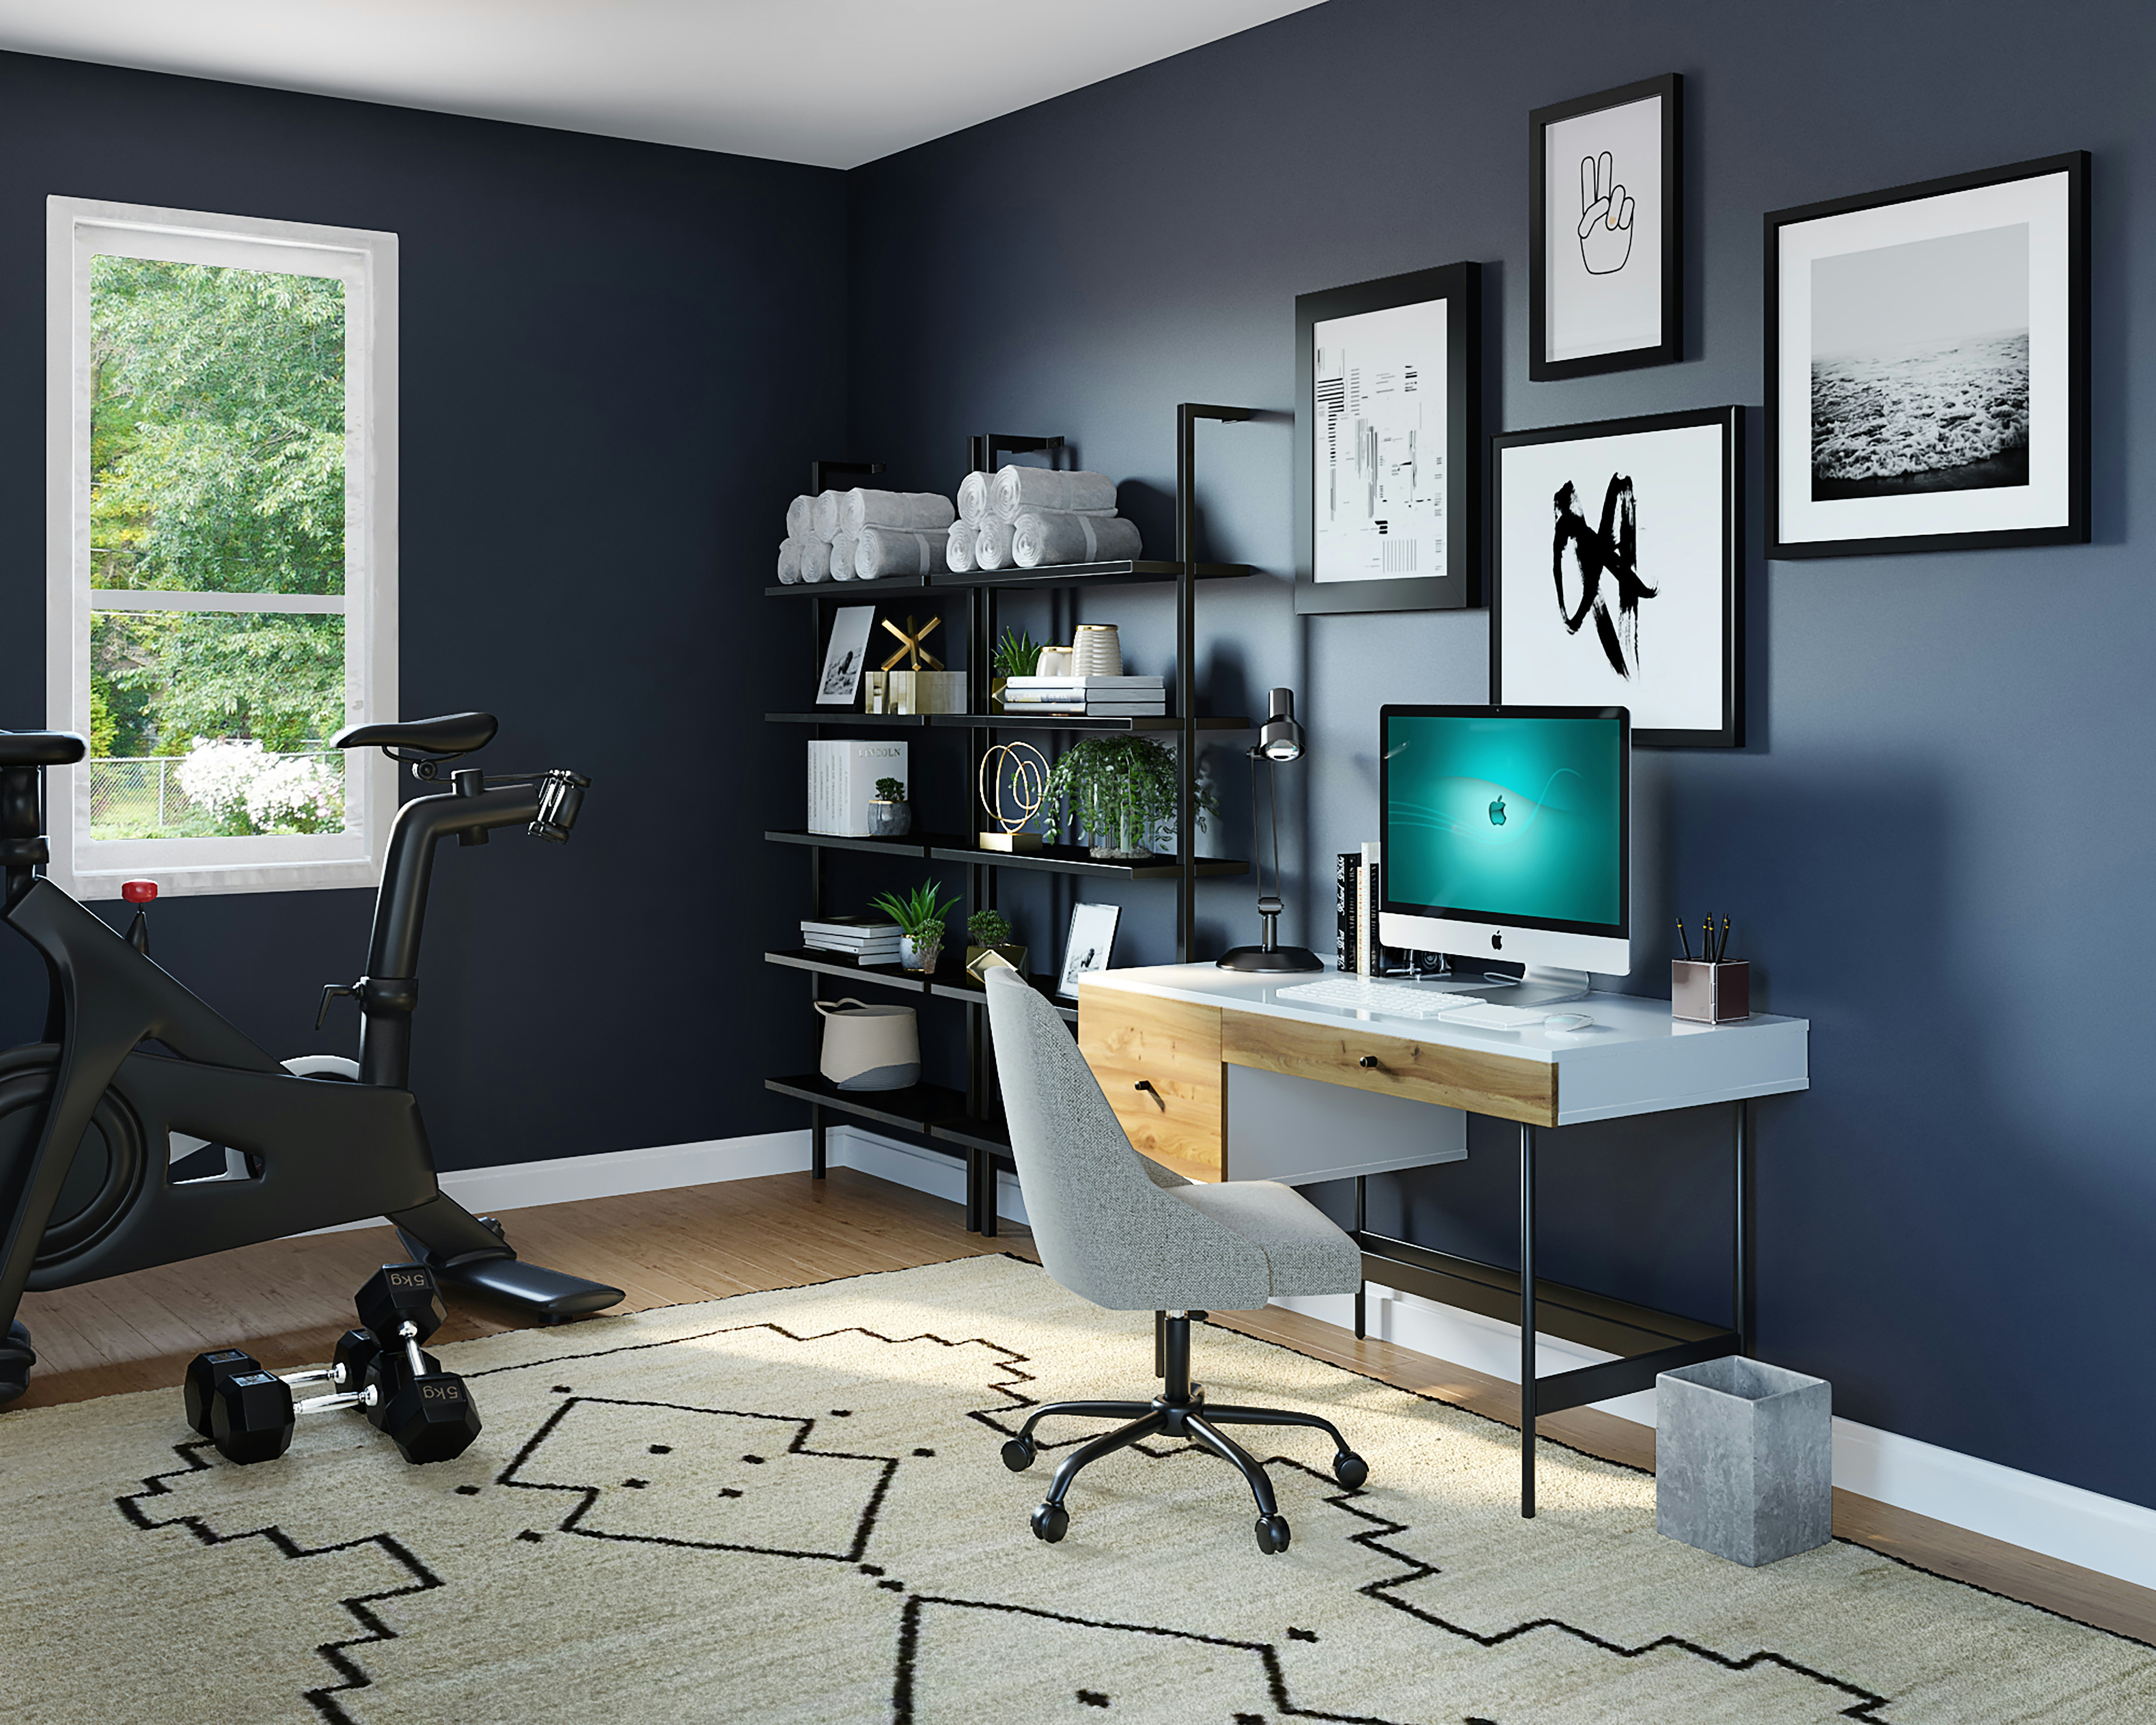
Creating a dedicated workspace within your living area allows you to blend comfort and productivity seamlessly. A well-arranged corner can support your focus while still...
Feb 03, 2026